Folders in Brand Wings are curated groupings of marketing tools, such as Assets, Templates, Email Campaigns, and Products. With our latest release, you can now define an image and description for each folder you create. In this article we will review the steps to upload folder images and set descriptions.
1) In the Brand Wings admin, navigate to Portal-->Folders
2) To manage an existing folder, click (or tap) the folder, then the gear icon. To create a new folder, use the New button.
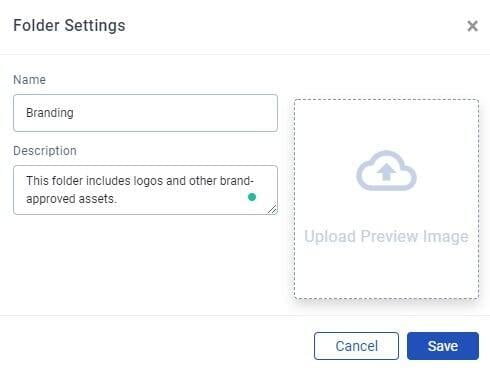
3) The folder detail window opens:

In this settings area, you can type in the name and description. For the image, you can either drag/drop the image to the image area, or click on the image area to be prompted to located the image. When done, click save.
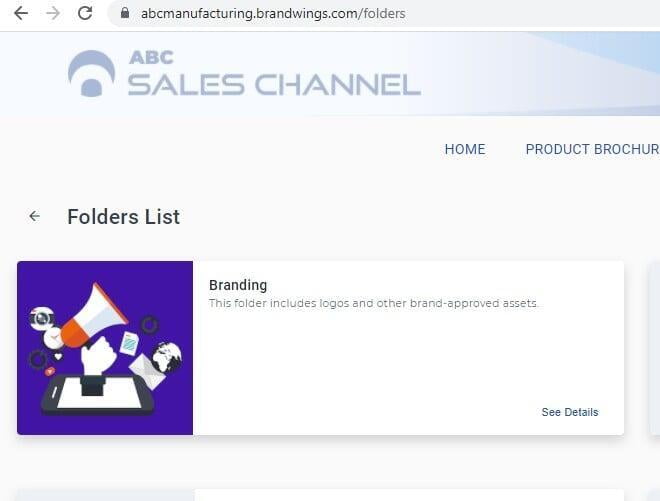
In the portal, you will now see the folder use the image and description you have set:


